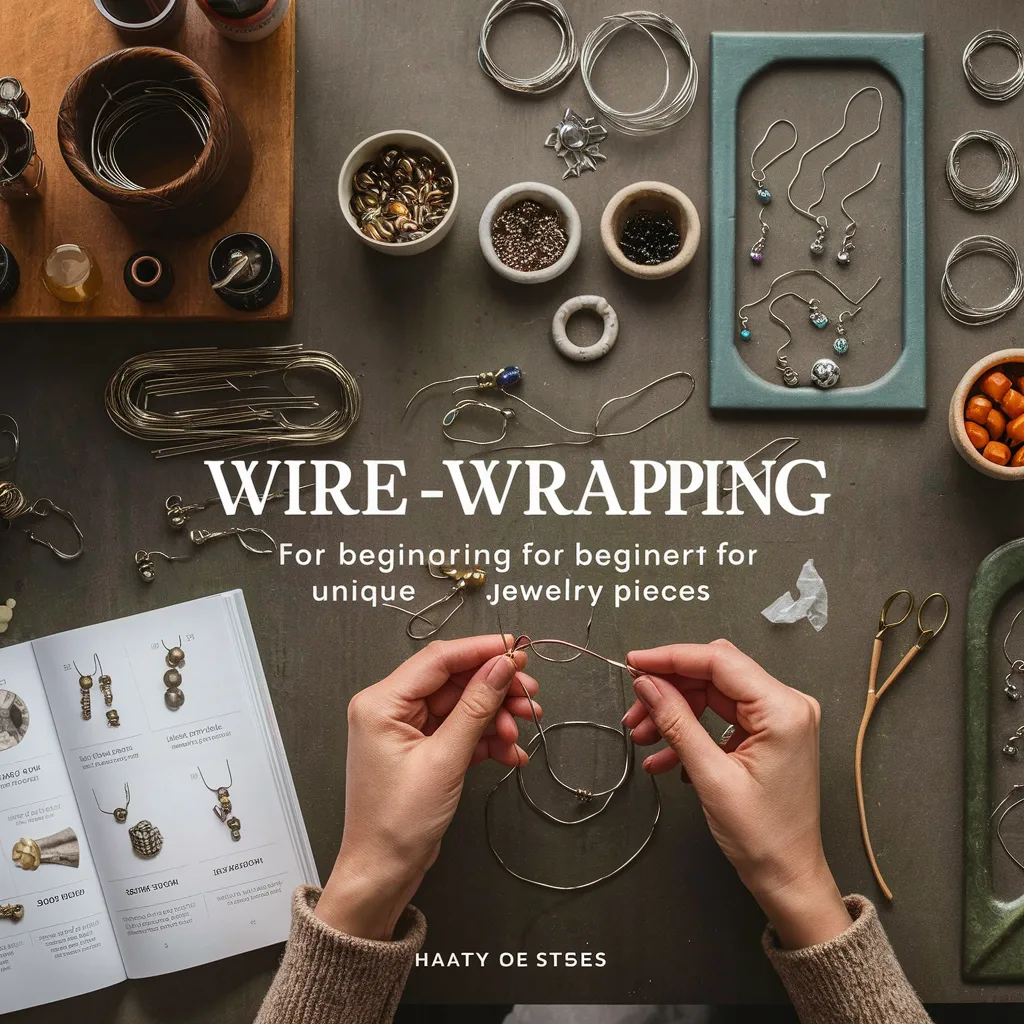
Wire-Wrapping for Beginners: Creating Unique Jewelry Pieces
Introduction to Wire-Wrapping
Wire-wrapping is a versatile and accessible technique for creating beautiful jewelry. Unlike soldering, it requires no heat, making it a safer option for beginners. With just a few tools and some practice, you can craft unique, handmade pieces that showcase your style and creativity.
Essential Tools and Materials
Before diving into the art of wire-wrapping, it's crucial to gather the right tools and materials. Here’s what you need to get started:
Basic Tools
- Pliers: Round-nose pliers, chain-nose pliers, and flat-nose pliers are essential for shaping and manipulating wire.
- Wire Cutters: Sharp cutters ensure clean cuts, which are vital for neat and professional-looking pieces.
- Mandrels: Useful for creating consistent loops and curves.
- Ruler or Measuring Tape: For precise measurements of wire length.
Materials
- Wire: Choose from a variety of metals such as copper, brass, sterling silver, or gold-filled wire.
- Beads and Stones: These add color and interest to your designs.
- Findings: Components like clasps, jump rings, and ear wires complete your pieces.x
Types of Wire
Selecting the right wire is fundamental to wire-wrapping. The type, gauge, and temper of the wire all influence the final piece's appearance and durability.
Wire Materials
- Copper: Affordable and easy to work with, making it perfect for beginners.
- Brass: Similar to gold in appearance, it's a budget-friendly option for stylish pieces.
- Sterling Silver: A precious metal that adds value and elegance to your creations.
- Gold-Filled: Offers the luxury of gold without the high cost.
Wire Gauge
Wire gauge refers to the thickness of the wire. Common gauges for wire-wrapping are 18 to 26, with lower numbers indicating thicker wire. Thicker wire (18-20 gauge) is suitable for structural elements, while thinner wire (24-26 gauge) is used for detailed wrapping and attaching beads.
Wire Temper
- Dead Soft: Very flexible and easy to shape, ideal for intricate designs.
- Half-Hard: Offers a balance between flexibility and strength, suitable for most projects.
- Full-Hard: Rigid and less common in wire-wrapping, used for specific structural elements.
Basic Techniques and Tips
Mastering basic wire-wrapping techniques is essential for creating polished jewelry pieces. Here are some fundamental skills every beginner should learn:
Making Simple Loops
Simple loops are the foundation of many wire-wrapping designs. They connect components and form the basis of more complex structures.
Creating Wrapped Loops
Wrapped loops are more secure than simple loops and add a decorative element. This technique involves looping the wire around itself to create a sturdy connection.
Wire Coiling
Coiling wire adds texture and detail to your pieces. Practice making consistent coils for a professional finish.
Forming Spirals
Spirals are decorative elements that can be used as focal points or accents. Use round-nose pliers to create smooth, even spirals.
Step-by-Step Guide to Creating Your First Piece
Now that you have the basics down, let’s create a simple yet beautiful wire-wrapped pendant.
Choosing Your Design
Start with a simple design that incorporates basic techniques. A wire-wrapped pendant with a central bead is an excellent beginner project.
Preparing Your Wire
Measure and cut your wire. For this project, you’ll need about 6 inches of 20-gauge wire.
Executing Basic Wire-Wraps
Step 1: Create a Bail
- Use round-nose pliers to form a small loop at one end of the wire.
- Wrap the wire around the base of the loop twice to secure it.
Step 2: Add Your Bead
- Slide your chosen bead onto the wire.
- Position the bead so it sits snugly against the wrapped loop.
Step 3: Form the Pendant
- Create a larger loop above the bead, then wrap the remaining wire around the base of this loop.
- Use wire cutters to trim any excess wire and tuck the end neatly against the wraps.
Final Touches
- Use your pliers to adjust and straighten the loops if necessary.
- Attach a jump ring through the top loop to connect your pendant to a chain or cord.
Common Mistakes to Avoid
As you start wire-wrapping, it's easy to make some common mistakes. Here’s how to avoid them:
Choosing the Wrong Wire Gauge
Using wire that is too thick or too thin for your project can lead to frustration and breakage. Always select the appropriate gauge for your design.
Overworking the Wire
Bending the wire too many times can cause it to become brittle and break. Make deliberate, careful movements to avoid this.
Neglecting to Secure Wraps
Loose wraps can make your jewelry look unprofessional and fall apart. Ensure all wraps are tight and secure.
Inconsistent Loops and Coils
Practice makes perfect. Take your time to make consistent loops and coils for a polished finish.
Conclusion
Wire-wrapping is a rewarding and accessible hobby that allows you to create unique jewelry pieces. With the right tools, materials, and techniques, you can transform simple wire and beads into stunning accessories. Practice regularly, learn from your mistakes, and don’t be afraid to experiment with new designs. Whether you're making jewelry for yourself or as gifts, wire-wrapping offers endless possibilities for creativity and self-expression. Happy crafting!


